We Tried Building a Smart Nursery with Only IKEA and Amazon Products – Here’s What Happened
When prepping for our baby, we quickly realized how wild nursery costs can get — especially with “smart” gear. So we set ourselves a fun challenge for an affordable smart nursery setup:
👉 Could we build a smart, stylish, and fully functional nursery using only IKEA and Amazon products — without blowing our budget?
Spoiler: it worked… mostly. Here’s everything we used, what we loved, what we returned, and what we’d tweak next time when doing an affordable smart nursery setup.
🛠️ Our Affordable Smart Nursery Setup (Amazon + IKEA Only)
🛏️ The Crib
IKEA SNIGLAR Crib – This minimalist crib from IKEA is a cult favorite for a reason — affordable, clean-looking, and surprisingly sturdy. It has no frills, but that’s exactly what makes it feel timeless. Plus, it’s easy to match with smart lighting underneath for a gentle glow.

IKEA SNIGLAR Crib
💡 Smart Lighting
Govee RGBIC Strip Light + IKEA TRÅDFRI bulbs
We set the Govee light strip under the crib and paired IKEA’s bulbs with a motion sensor. Soft, automatic light for late-night feedings = a lifesaver.
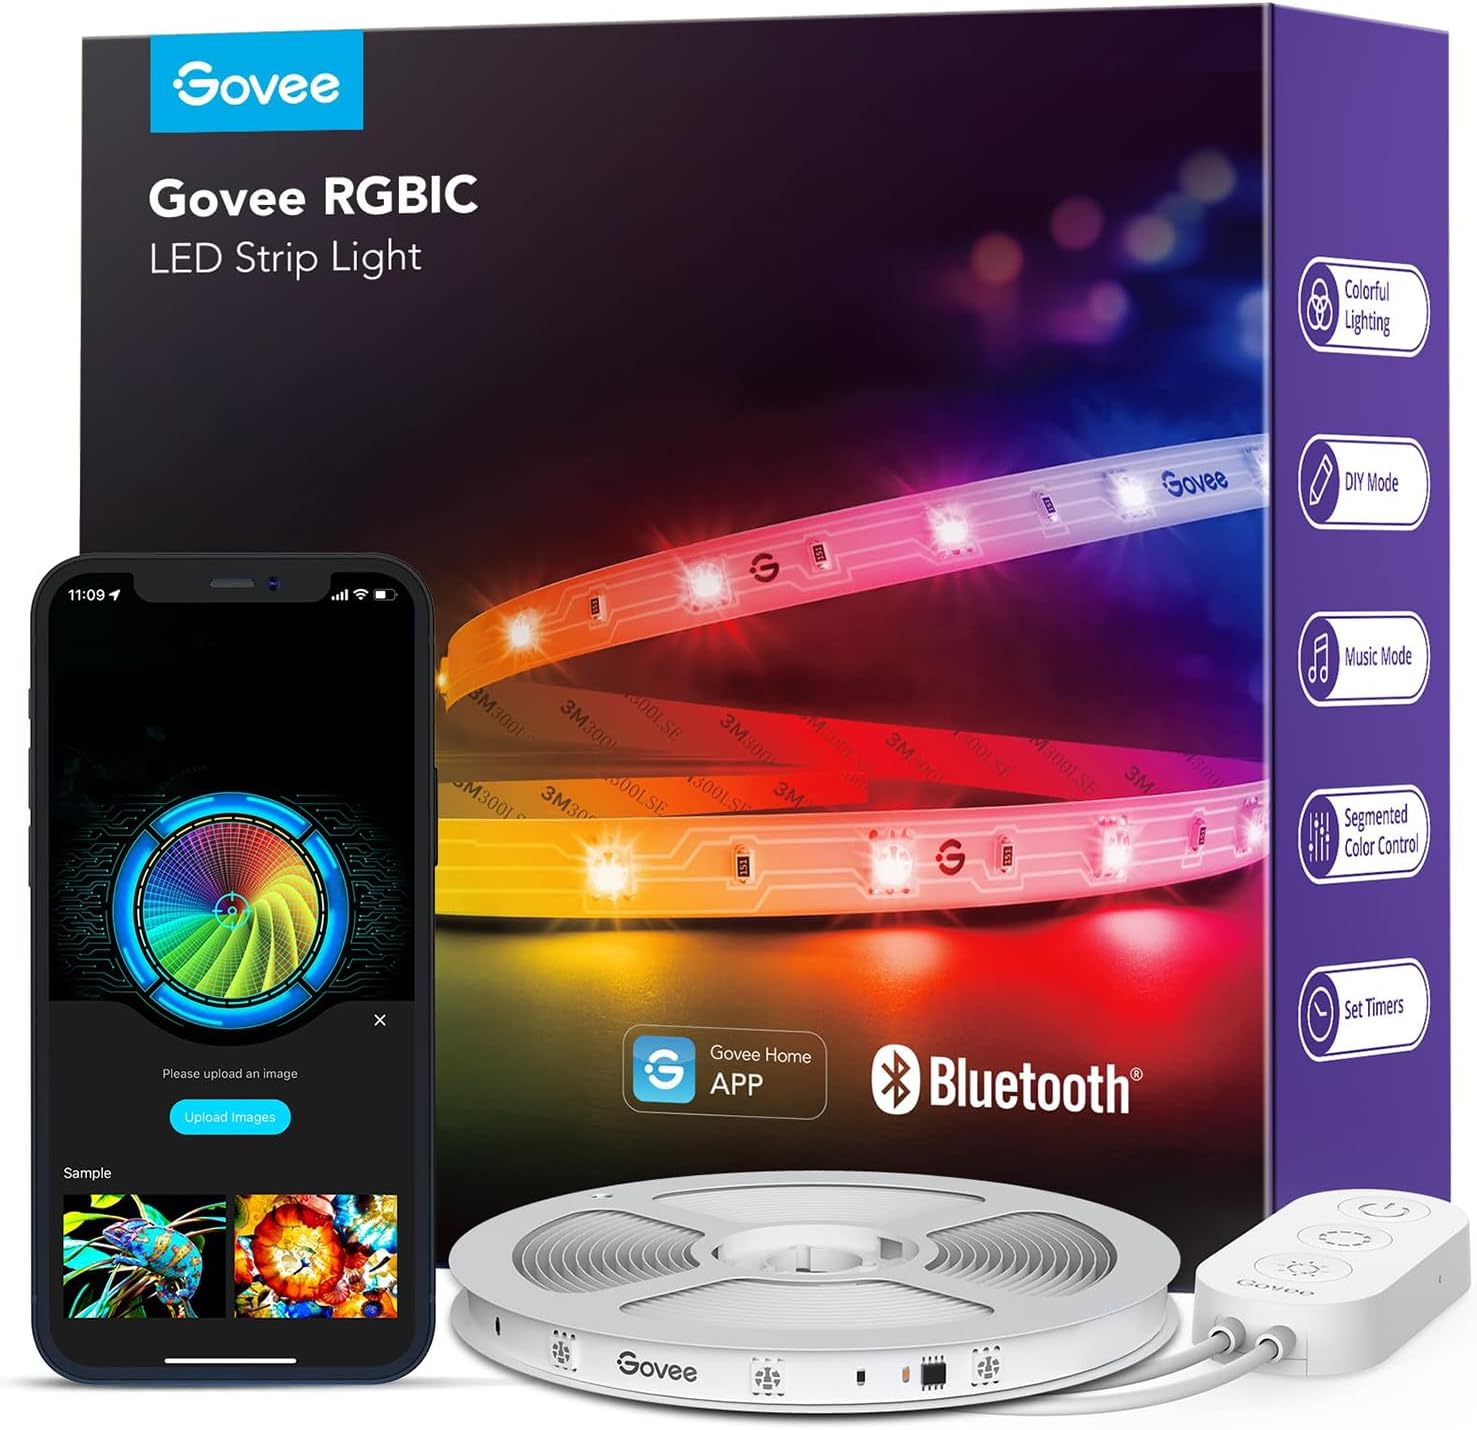
Govee RGBIC Strip Light

IKEA TRÅDFRI bulbs
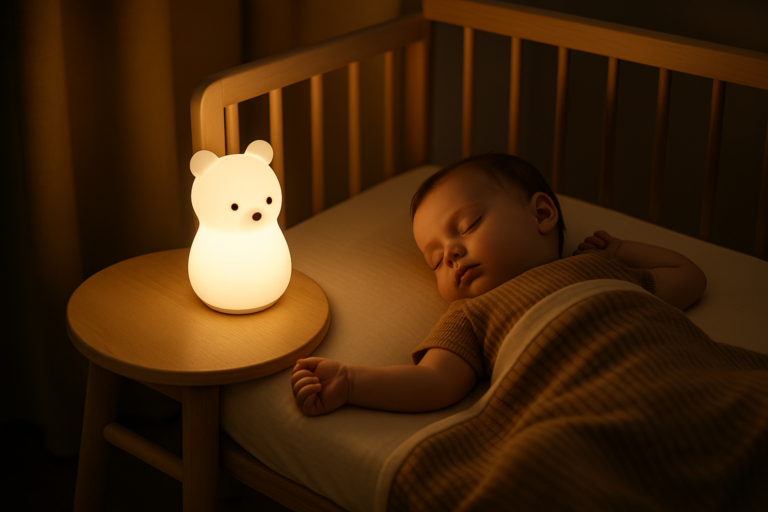
🎵 Sound Machine & Night Light
Hatch Rest 2nd Gen (Amazon) – Doubles as a night light, white noise machine, and time-to-rise signal down the line. Syncs with Alexa. Win.
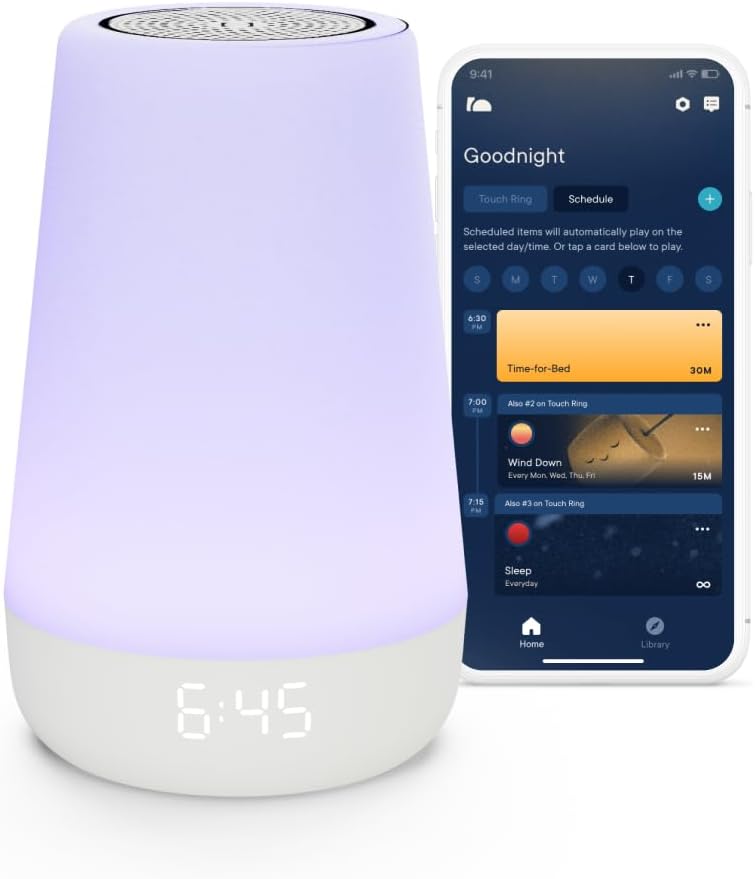
Hatch Rest 2nd Gen
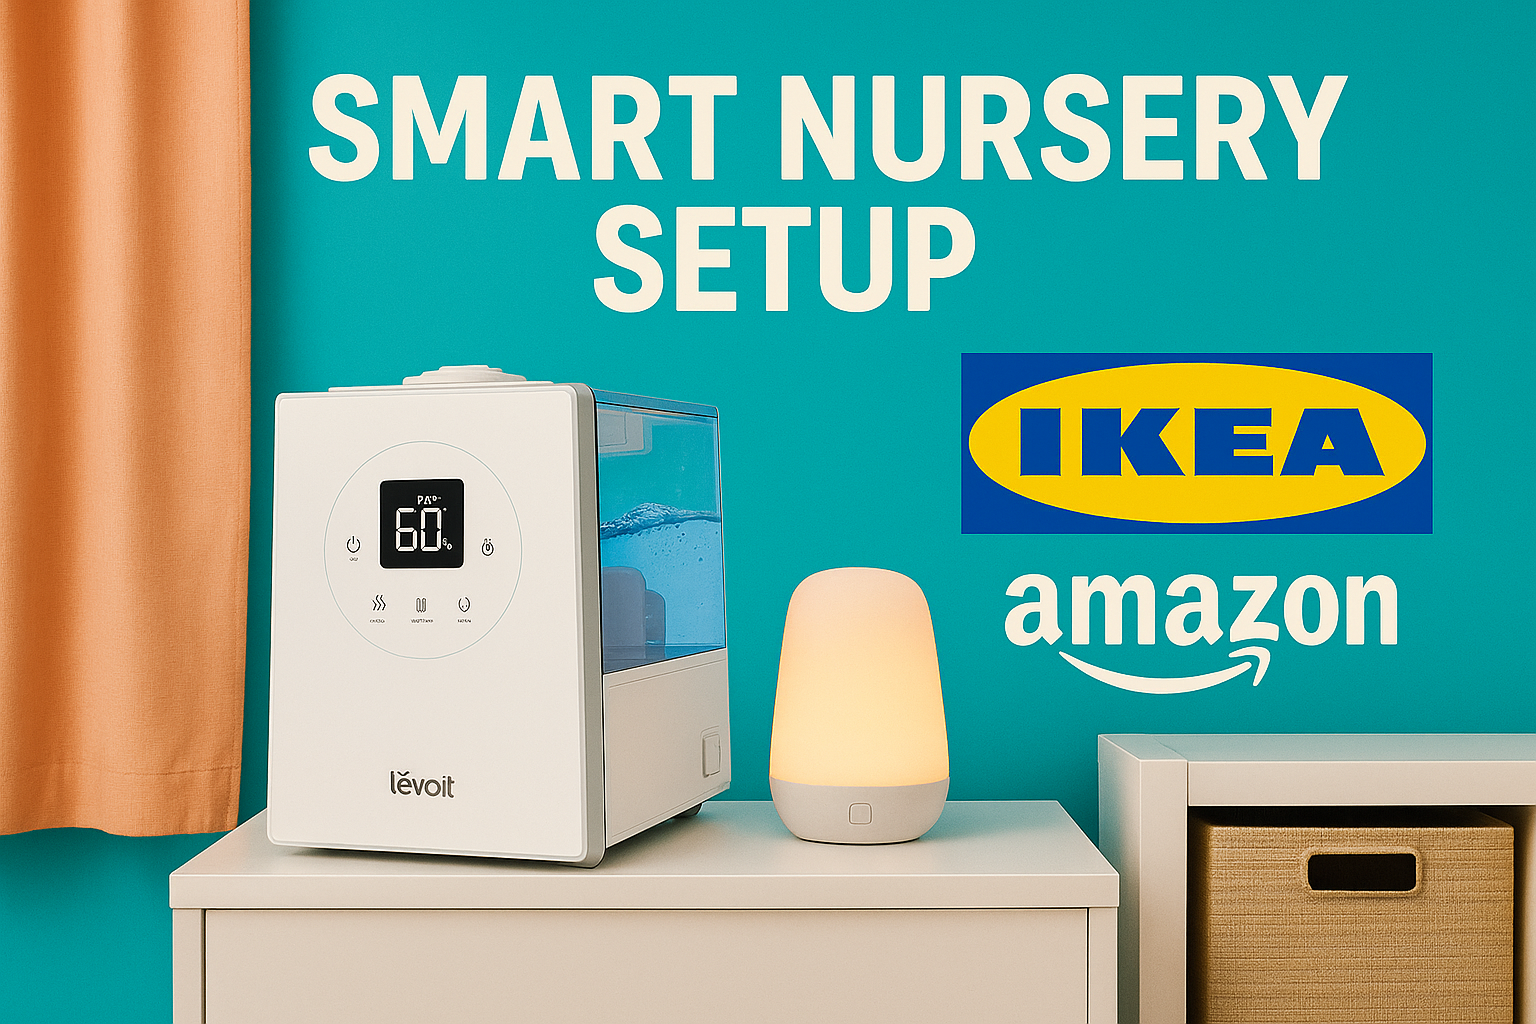
🌡️ Temperature & Humidity Control
Levoit 600S Smart Humidifier + IKEA FEJKA plant décor
Yes, we included a fake plant — because smart doesn’t mean sterile. The Levoit keeps the room comfy and integrates with our Alexa routines. We also love the Levoit humidifier, check out our full review here.
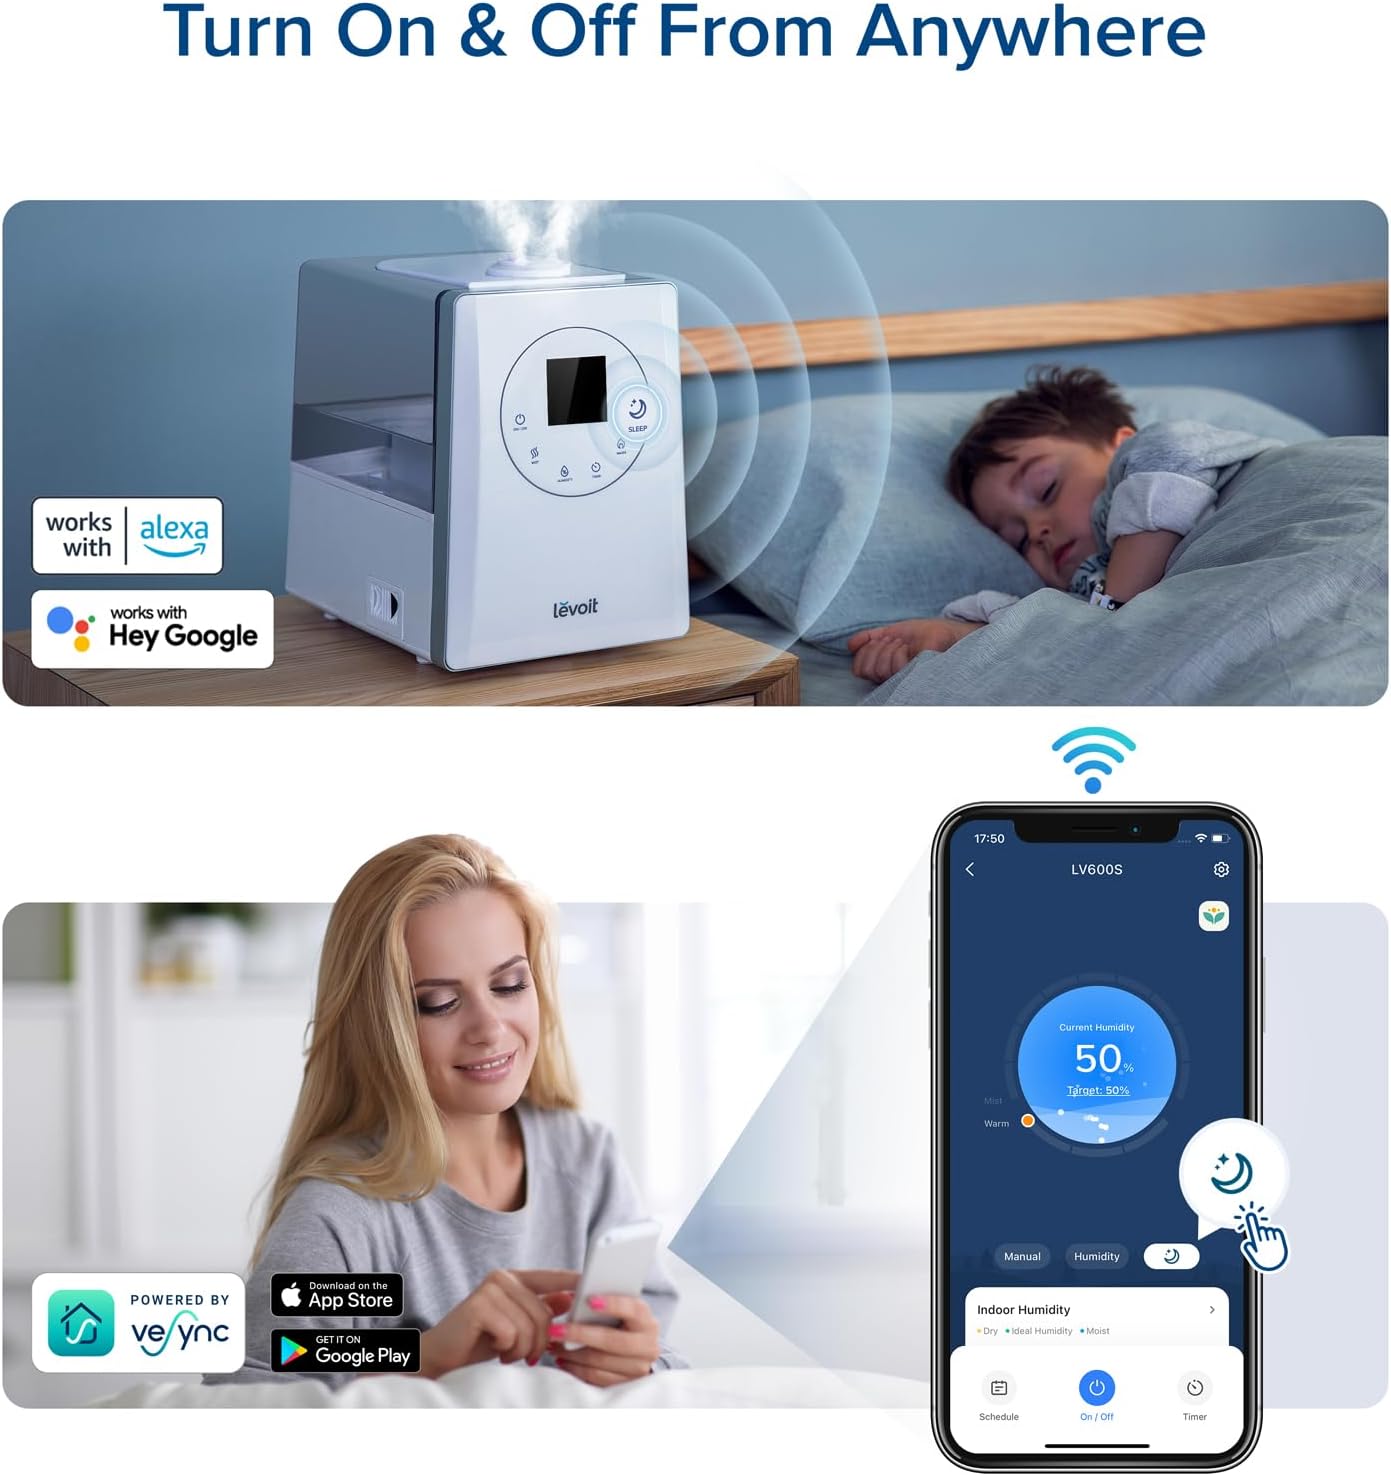
Levoit 600S Smart Humidifier

IKEA FEJKA plants
🎥 Baby Monitor
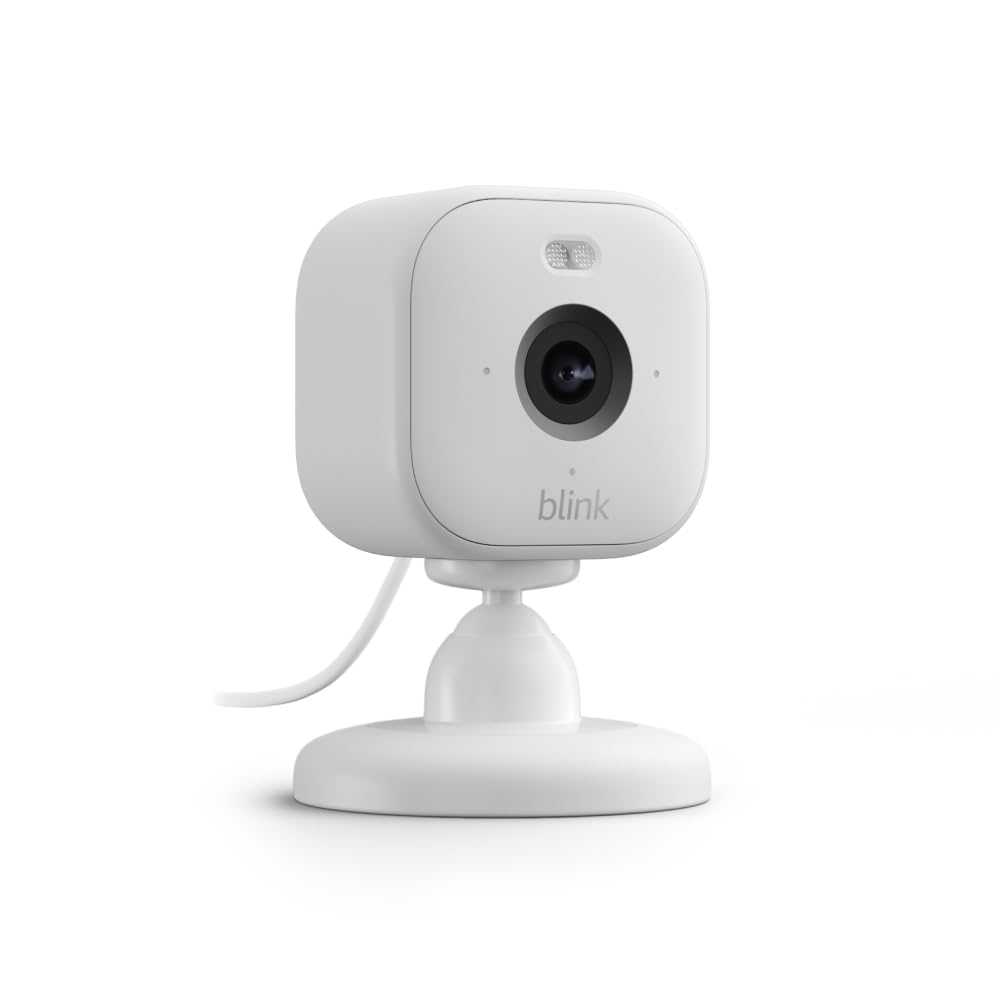
Blink Mini Camera (Amazon)
Budget-friendly and reliable. Not as feature-rich as the Nanit, but it got the job done. We mounted it using a cheap IKEA bracket + Command strips.
IKEA SNIGLAR Crib
📦 What Surprised Us (in a Good Way) When Doing An Affordable SMART nursery Setup
- IKEA’s TRÅDFRI smart bulbs were better than expected, especially with the motion sensor.
- Amazon’s smart plugs let us automate humidifiers and diffusers for less than €20.
- Some IKEA items felt custom-made for small nurseries — like the KALLAX shelf with bins for baby clothes.
😅 What Didn’t Work
- IKEA smart remotes didn’t always play nice with Alexa.
- The Blink camera app was a bit clunky on older phones.
- We tried a cheap smart mobile. It looked great… and lasted 4 days.
Our Tips for Building Your Own Affordable Smart Nursery
Step 1: Set a Realistic Budget
Decide how much you want to spend. A budget around €500 helps you focus on sleep, comfort, and safety without going overboard.
Step 2: Focus on the Essentials
Prioritize only the must-haves: smart lighting, sound/white noise, humidity control, and video monitoring.
Step 3: Shop IKEA for Furniture & Storage
Choose simple, safe furniture like the SNIGLAR crib and KALLAX shelves. Add soft storage bins to keep the room tidy and baby-friendly.
Step 4: Buy Smart Tech from Amazon
Look for affordable smart devices that work with Alexa, like the Hatch Rest, Govee light strips, and Levoit 600S humidifier.
Step 5: Set It Up One Piece at a Time
Start with one device category (like lighting), test it, then slowly add others as you get more confident.
Step 6: Test It During Bedtime or Naps
Try out routines in advance to make sure things like motion lights or sounds don’t interrupt baby sleep.
Step 7: Tweak as Needed
Every baby is different. Adjust your smart setup based on what actually helps your baby (and you) sleep better.
💬 Final Verdict
We built a stylish, fully functional smart nursery for less than €500 — and didn’t sacrifice comfort or looks. IKEA + Amazon might not sound high-end, but they absolutely worked for us.
And best of all? No complicated hubs or subscriptions. Just simple, useful tech that made our new-parent life easier.
📦 Top Products We Used
👉 Hatch Rest on Amazon
👉 Govee Light Strip
👉 Levoit 600S Humidifier
👉 IKEA SNIGLAR Crib
👉 Blink Mini Camera